An outdoor sauna needs regular care to stay clean, dry and in good working condition. A consistent routine helps protect its wooden surfaces and equipment, while making it easier to spot changes that need attention. In this guide, we explain how to care for your Maudis sauna, from drying and cleaning after use to maintaining the exterior and checking essential components. You will also learn how to distinguish natural changes in wood from signs that need further investigation. The basic principle is simple: dry the sauna after use, clean it gently and inspect it regularly. When something changes, identify the cause before attempting a repair.
How much maintenance does an outdoor sauna actually need?
A well-installed outdoor sauna needs only simple maintenance. Most regular care falls into three categories:
- drying and ventilation after every session;
- periodic cleaning and inspection;
- seasonal checks of the exterior, roof, foundation, and equipment.
The frequency depends on usage, climate, wood type, exterior finish, location, and equipment. A private weekend sauna and a commercial sauna operating every day should not follow the same schedule. Maintenance and repair are distinct. Cleaning a surface is maintenance. Investigating why that surface remains permanently wet, why a door has moved out of alignment, or why mould keeps returning is a repair or diagnostic issue.
What to do after every sauna session
Let the sauna dry properly
Drying the sauna after use is an essential part of caring for its wooden interior. The remaining heat helps moisture evaporate from surfaces, while ventilation carries humid air out. Both are needed to allow the interior to dry thoroughly between sessions.
After each session:
- Remove excess water from benches and floors.
- Take wet towels and other textiles out of the sauna.
- Open the designated drying vent according to your sauna’s instructions.
- Where the model instructions and outdoor conditions allow, open the door or any opening windows to support drying.
- Allow the interior to dry while it is still warm, following the recommended drying procedure for your sauna and heater.
Keep ventilation openings clear and inspect them periodically, as dust, insects and debris can restrict airflow. If a ventilation flap does not move properly, do not force it or modify the system yourself.

Wipe benches and high-contact surfaces
Benches and backrests come into direct contact with skin during every sauna session, leaving them exposed to sweat, natural body oils and traces of skincare products. These can leave residue and stains on wooden surfaces, especially if allowed to build up over time. Gentle cleaning after use helps keep these surfaces clean, while a fresh bench towel reduces direct contact with the wood and helps protect it from sweat and cosmetic residue.
A simple routine helps:
- wipe benches and backrests after use;
- use a soft cloth or soft brush;
- avoid allowing water to remain on wooden surfaces;
- use a clean seat towel or bench towel.
Showering before your session and using a clean bench towel are also simple ways to care for shared surfaces — read more in our outdoor sauna etiquette guide.
Maudis sauna interiors feature natural wood, including thermowood benches and supports. Thermowood absorbs less moisture than untreated wood, and its darker colour can make some marks less noticeable than on lighter wood. However, this does not make it stain-proof or maintenance-free. Sweat, body oils and skincare residue still need to be removed regularly to keep the benches clean and well maintained. A simple cleaning routine helps prevent build-up and reduces the need to tackle stubborn stains later.
Remove loose dirt and ash, and empty water containers
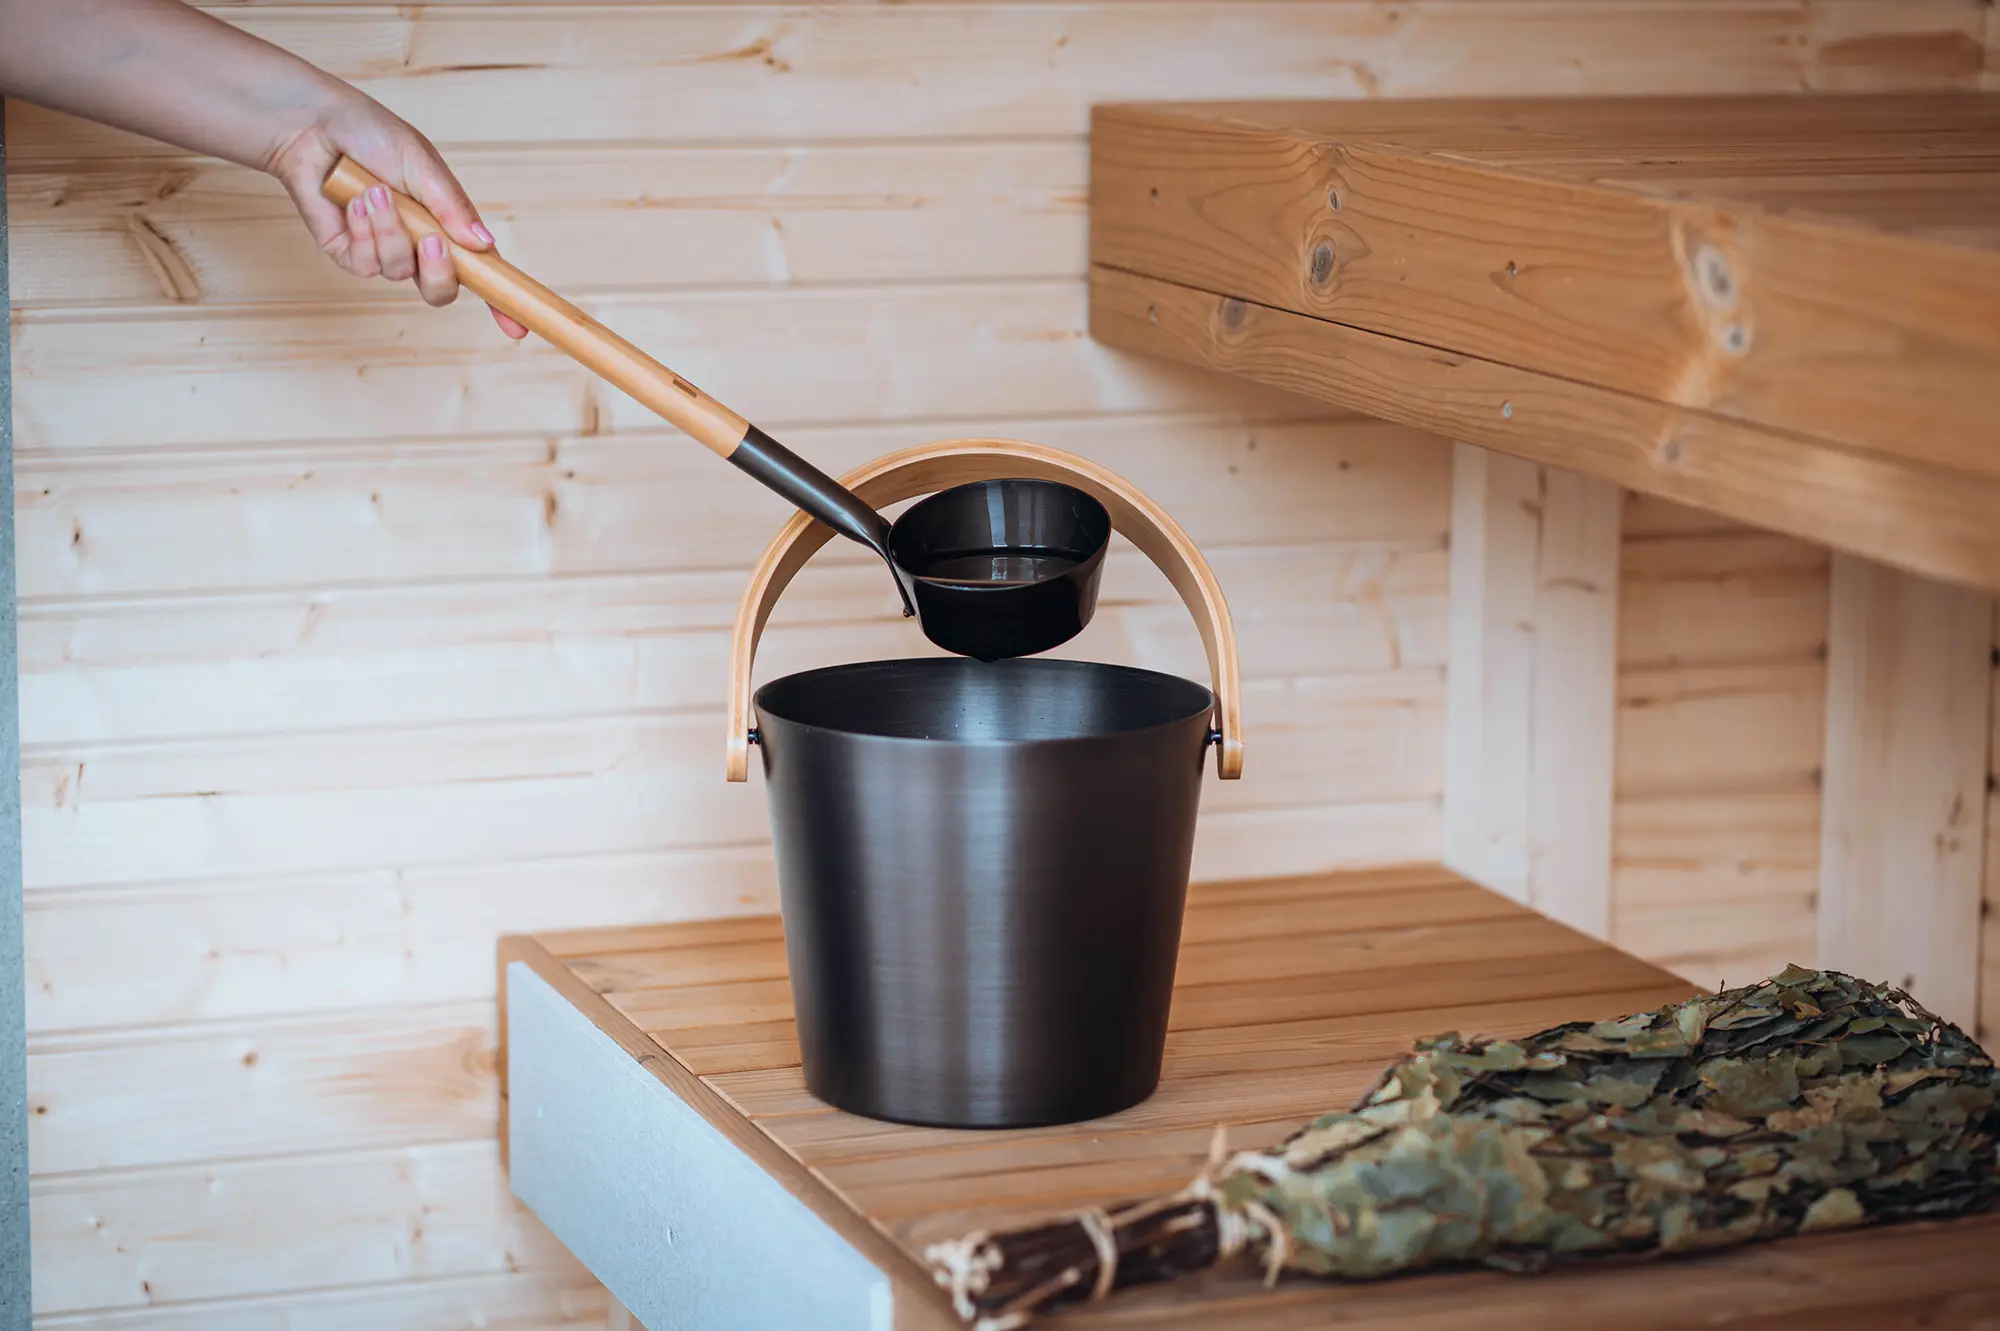
Sweep up sand and dirt near the entrance, and remove leaves or debris from beneath the benches, the floor, terrace and anteroom. Empty any remaining water from buckets and ladles, and leave them to dry. For wood-burning heaters, remove ash according to the heater manufacturer’s instructions, only once both the heater and ashes are completely cool. Never use the sauna to dry clothes or towels. Textiles placed on or near the heater can pose a fire risk.
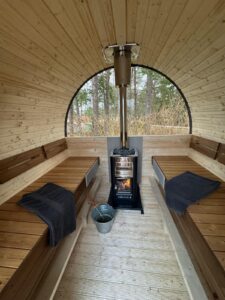
After each sauna session, remove towels and other items, then wipe moisture from the benches and floor. Let the interior dry fully by opening the door and vents when conditions allow. Check the wood-burning heater and visible chimney parts for signs of damage, but clean out ash only after the heater and ashes have cooled completely. Have the chimney inspected and cleaned by a qualified professional as recommended by the manufacturer.
How to clean an outdoor sauna interior
Sauna wood is best cleaned gently, using a soft cloth or soft brush and a mild cleaner specifically intended for wooden sauna surfaces. Follow the cleaner’s instructions for dilution and application, and use only as much water as needed to clean the surface and remove any residue. Avoid aggressive household cleaners and do not soak the wood or leave water pooling on it. After cleaning, ensure adequate ventilation and allow all wooden surfaces to dry completely.
If a stain remains after normal cleaning, light sanding may be appropriate once the wood is fully dry. Use fine-grit sandpaper and work carefully along the grain. To help maintain an even finish, sand the full length of the affected board rather than concentrating on a small patch. Remove the sanding dust, and only apply a protective treatment if it is recommended for your sauna’s wood and intended use, following the sauna manufacturer’s care instructions. Sanding should be reserved for stubborn stains or surfaces that need attention, rather than treated as a routine annual task.
What not to use inside a sauna
Sauna interiors are repeatedly exposed to heat and moisture, so cleaning and treatment products must suit these conditions. General household products may damage or discolor wood, leave unwanted residues, or cause unpleasant odors when the sauna heats up. Gentle cleaning with products specifically intended for sauna wood helps avoid these problems.
We do not recommend using:
- Aggressive household cleaners, solvents, chlorine or bleach.
- Homemade vinegar or baking-soda mixtures as universal cleaners, or strong fragrances.
- Abrasive sponges or steel wool.
- Pressure washers or large amounts of water.
- Paints, varnishes, sealants or oils not designed for sauna temperatures.
The aim of regular care is to keep sauna wood clean and allow it to dry properly between uses. It does not need to look unchanged over time. Before using a stronger cleaner or sanding a changed area, first consider whether it is a stain that needs attention or a natural change in the wood’s appearance.
How to recognise normal wood changes
Wood responds naturally to changes in temperature, humidity and light. As a sauna is heated, used and allowed to dry, its wooden surfaces may gradually change in colour and develop small surface cracks. These changes can occur even with proper care and do not, on their own, mean that the wood is damaged or needs replacing.
Over time, you may notice:
- differences in colour between individual boards;
- gradual fading or darkening of wooden surfaces;
- greying of exterior wood exposed to the weather, particularly where it has no protective pigmented finish;
- small surface cracks as the wood expands and contracts with changes in moisture.
The extent of these changes depends on the wood species, surface treatment, exposure and frequency of sauna use. Small surface cracks and gradual colour changes should be distinguished from changes that affect the firmness, stability or function of a wooden component.
When should you investigate?
Changes in wood deserve closer attention when they persist or develop beyond gradual colour variation and small surface cracks. A dark mark alone does not reveal its cause, so check whether the affected area is also damp, soft or associated with a musty smell.
Inspect the wood more closely if you notice:
- areas that remain damp between sessions despite adequate drying and ventilation;
- softening or a loss of firmness;
- spreading dark patches, recurring mould or a persistent musty smell;
- cracks that continue to widen or deepen.
Before sanding or applying a treatment, identify what is causing the change. If the wood remains damp or shows signs of deterioration, contact Maudis for advice rather than simply cleaning or coating over the affected area.
Exterior wood and structural maintenance
An outdoor sauna’s exterior is exposed to rain, snow, sunlight, and changing temperatures year-round. These conditions affect both the wooden surfaces and their protective finish, while the roof, foundation, doors, and windows also need regular inspection. Exterior maintenance combines caring for the wood with checking that the sauna remains stable, drains properly, and shows no signs of water ingress.
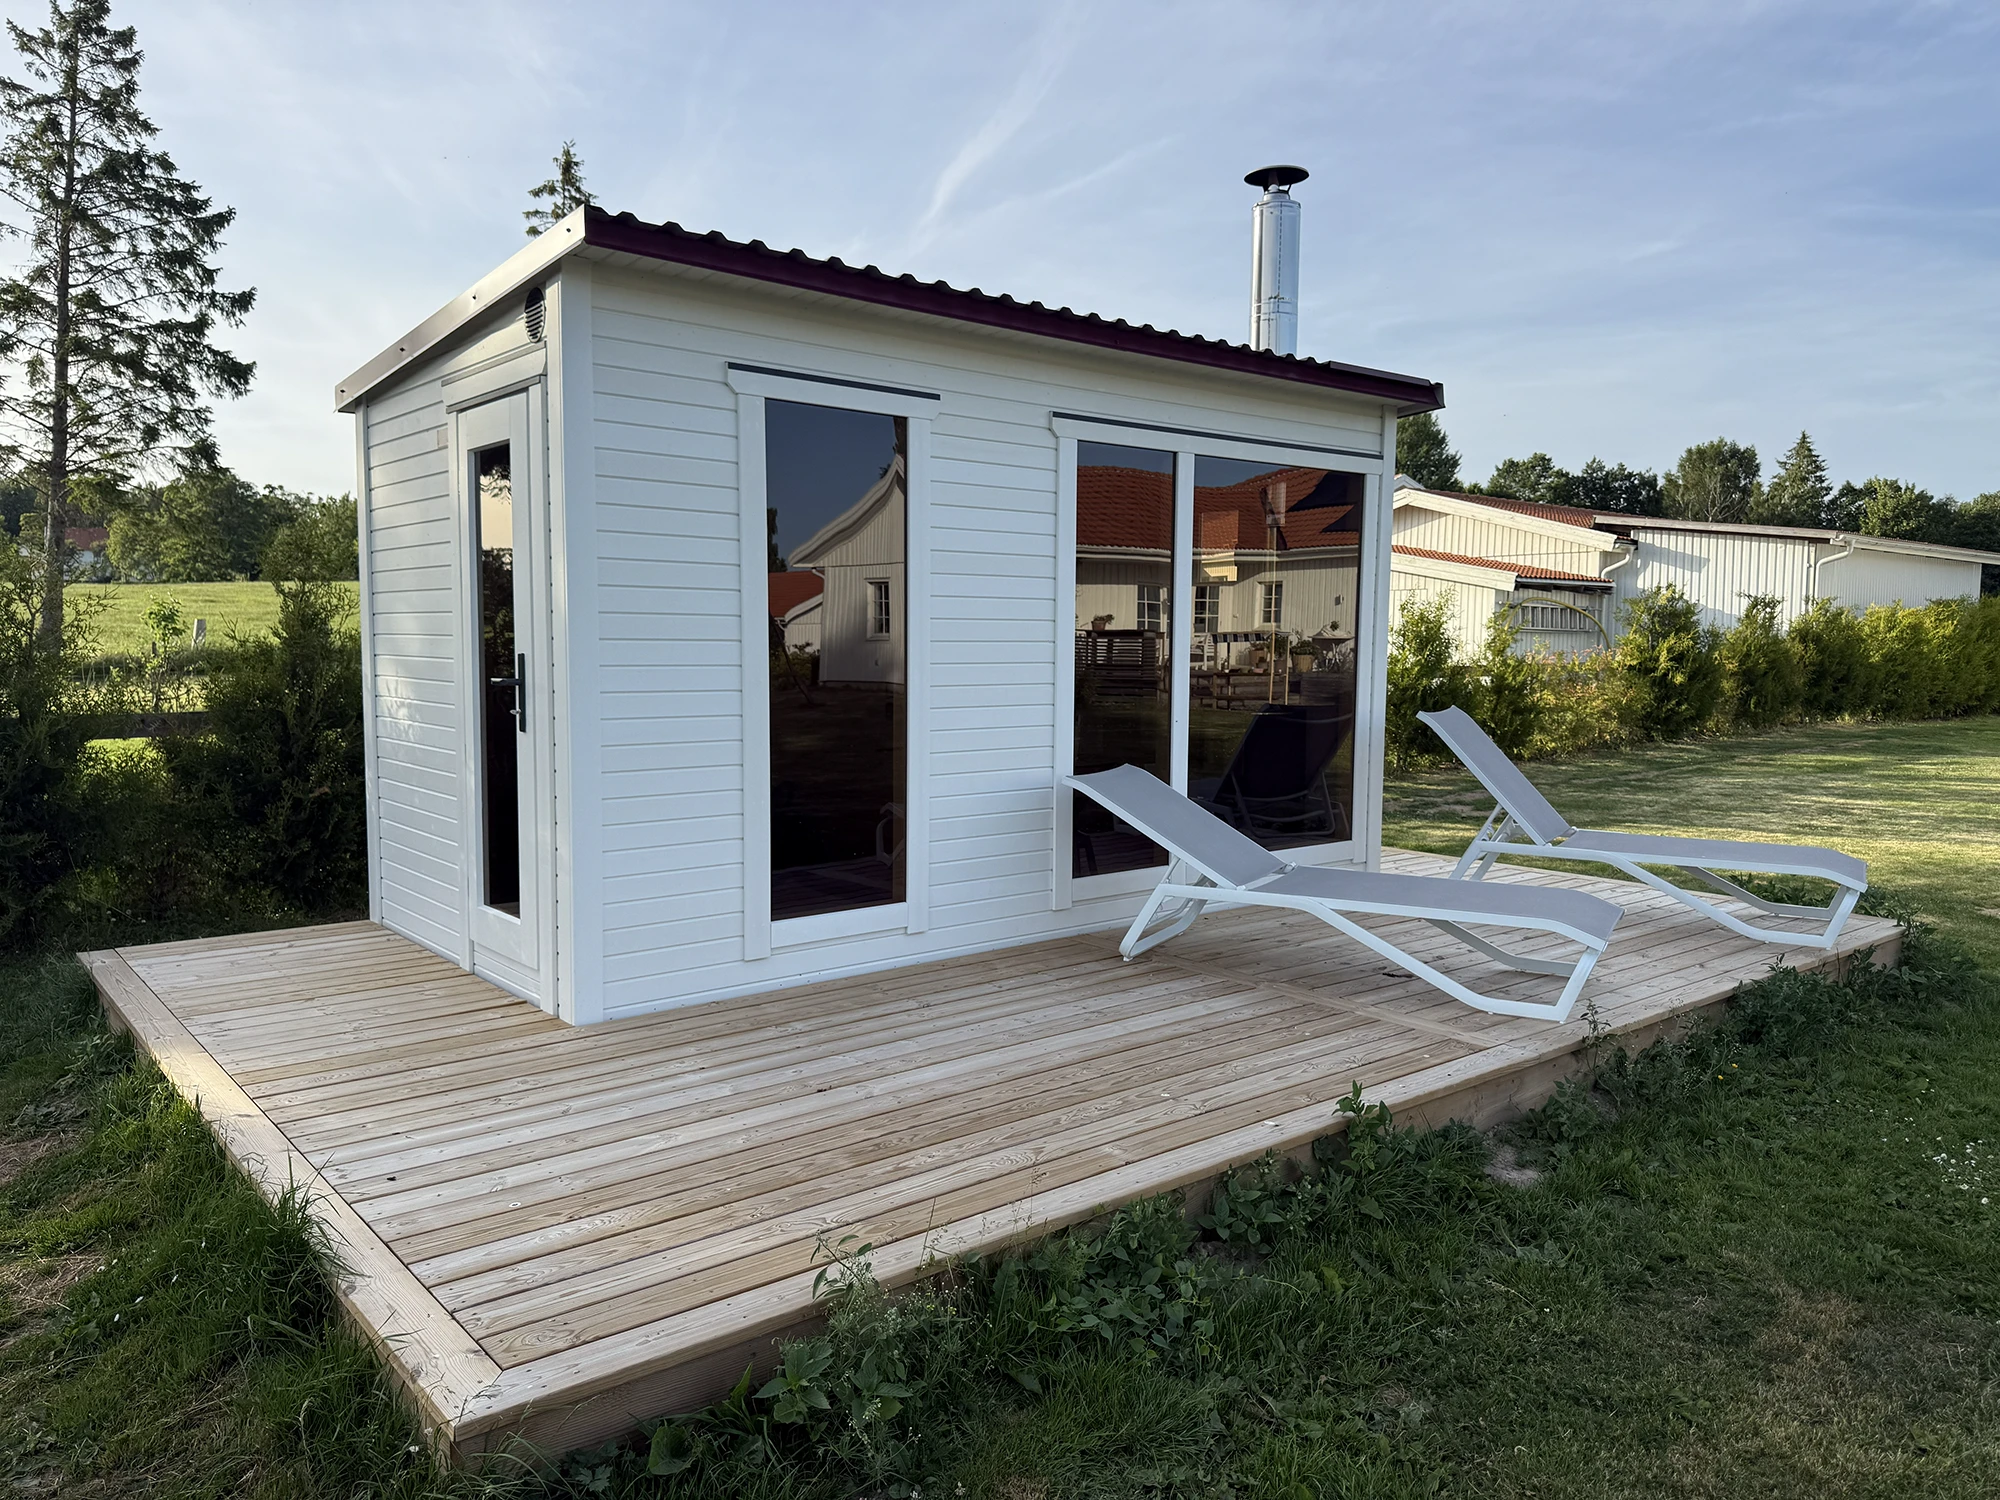
Maudis saunas can be delivered with factory-applied exterior colours, while some customers choose an uncoated exterior to finish themselves. Maudis recommends protecting the exterior of all outdoor saunas, including thermowood models, with a suitable exterior wood coating.
Inspect the exterior at least once a year and make maintenance part of your annual sauna care routine. This does not mean every sauna needs a full repaint each year. However, refreshing the finish where needed, before it deteriorates significantly, helps preserve the sauna’s appearance and protection against the weather. An annual maintenance coat may be appropriate for some finishes, particularly in exposed locations, provided this follows the coating manufacturer’s instructions. The right interval depends on the existing coating, exposure to sunlight and rain, and local conditions.
Before renewing the finish, clean the surface, allow the wood to dry thoroughly and remove any loose or flaking coating. Prepare the wood according to the coating manufacturer’s instructions and choose a product compatible with both the timber and the existing finish.
Maudis does not recommend allowing ivy or other climbing plants to grow directly on the sauna’s wooden walls or roof. Dense growth can conceal the surface and make inspection, cleaning and recoating more difficult, while woody stems may grow into gaps and put pressure on adjoining elements as they thicken. Keep nearby plants trimmed clear of the cladding, ventilation openings and roof edges. If you want climbing plants nearby, grow them on a separate, freestanding support with enough space to access and maintain the sauna.
Cleaning and caring for exterior wood
Exterior wood naturally changes colour as it is exposed to sunlight and weather. This includes thermowood, which gradually loses its original tone without suitable UV protection. Greying alone does not necessarily indicate damage, but before cleaning or recoating, check the condition of both the wood and its existing finish.
Look for persistent dampness, mould, soft or decaying areas, peeling coating and places where water collects. If these signs are present, identify and address the cause before applying a new finish. Where the wood remains sound, greying may be an aesthetic change rather than a structural problem.
Maudis does not recommend pressure-washing a wooden outdoor sauna. High-pressure cleaning can damage the wood surface and protective finish, and force water into joints or around doors and windows. Instead, use a soft-bristle brush or cloth and, where rinsing is needed, a garden hose on a gentle setting. Avoid directing water into ventilation openings, joints or seals.
If water alone does not remove the dirt, use a mild exterior wood cleaner compatible with the timber and its existing coating, following the product instructions. Allow the wood to dry thoroughly before renewing the finish, and follow the coating manufacturer’s surface preparation requirements.
Roof, foundation and drainage
A sound roof and a stable, well-drained foundation help protect an outdoor sauna from water ingress and prolonged moisture exposure. Regular checks should confirm that rainwater and melting snow can drain away, air can circulate beneath the structure, and the sauna remains level on its base.
Inspect the roof periodically and after strong winds or storms. Look for damaged or displaced roofing, open joints, damaged edges, and remove leaves or branches that could block drainage. Watch for places where water collects or signs that it is entering the sauna. Maudis roofing varies by model: Box saunas use sheet metal, Barrel and Cube models use bitumen shingles, and TAVO saunas use a PVC roofing system. Follow the care instructions for the roofing fitted to your sauna.
For saunas with a wood-burning heater, also visually check accessible external chimney components for damage or displacement after severe weather. Arrange for a qualified professional to assess any concerns and carry out chimney repairs or adjustments.
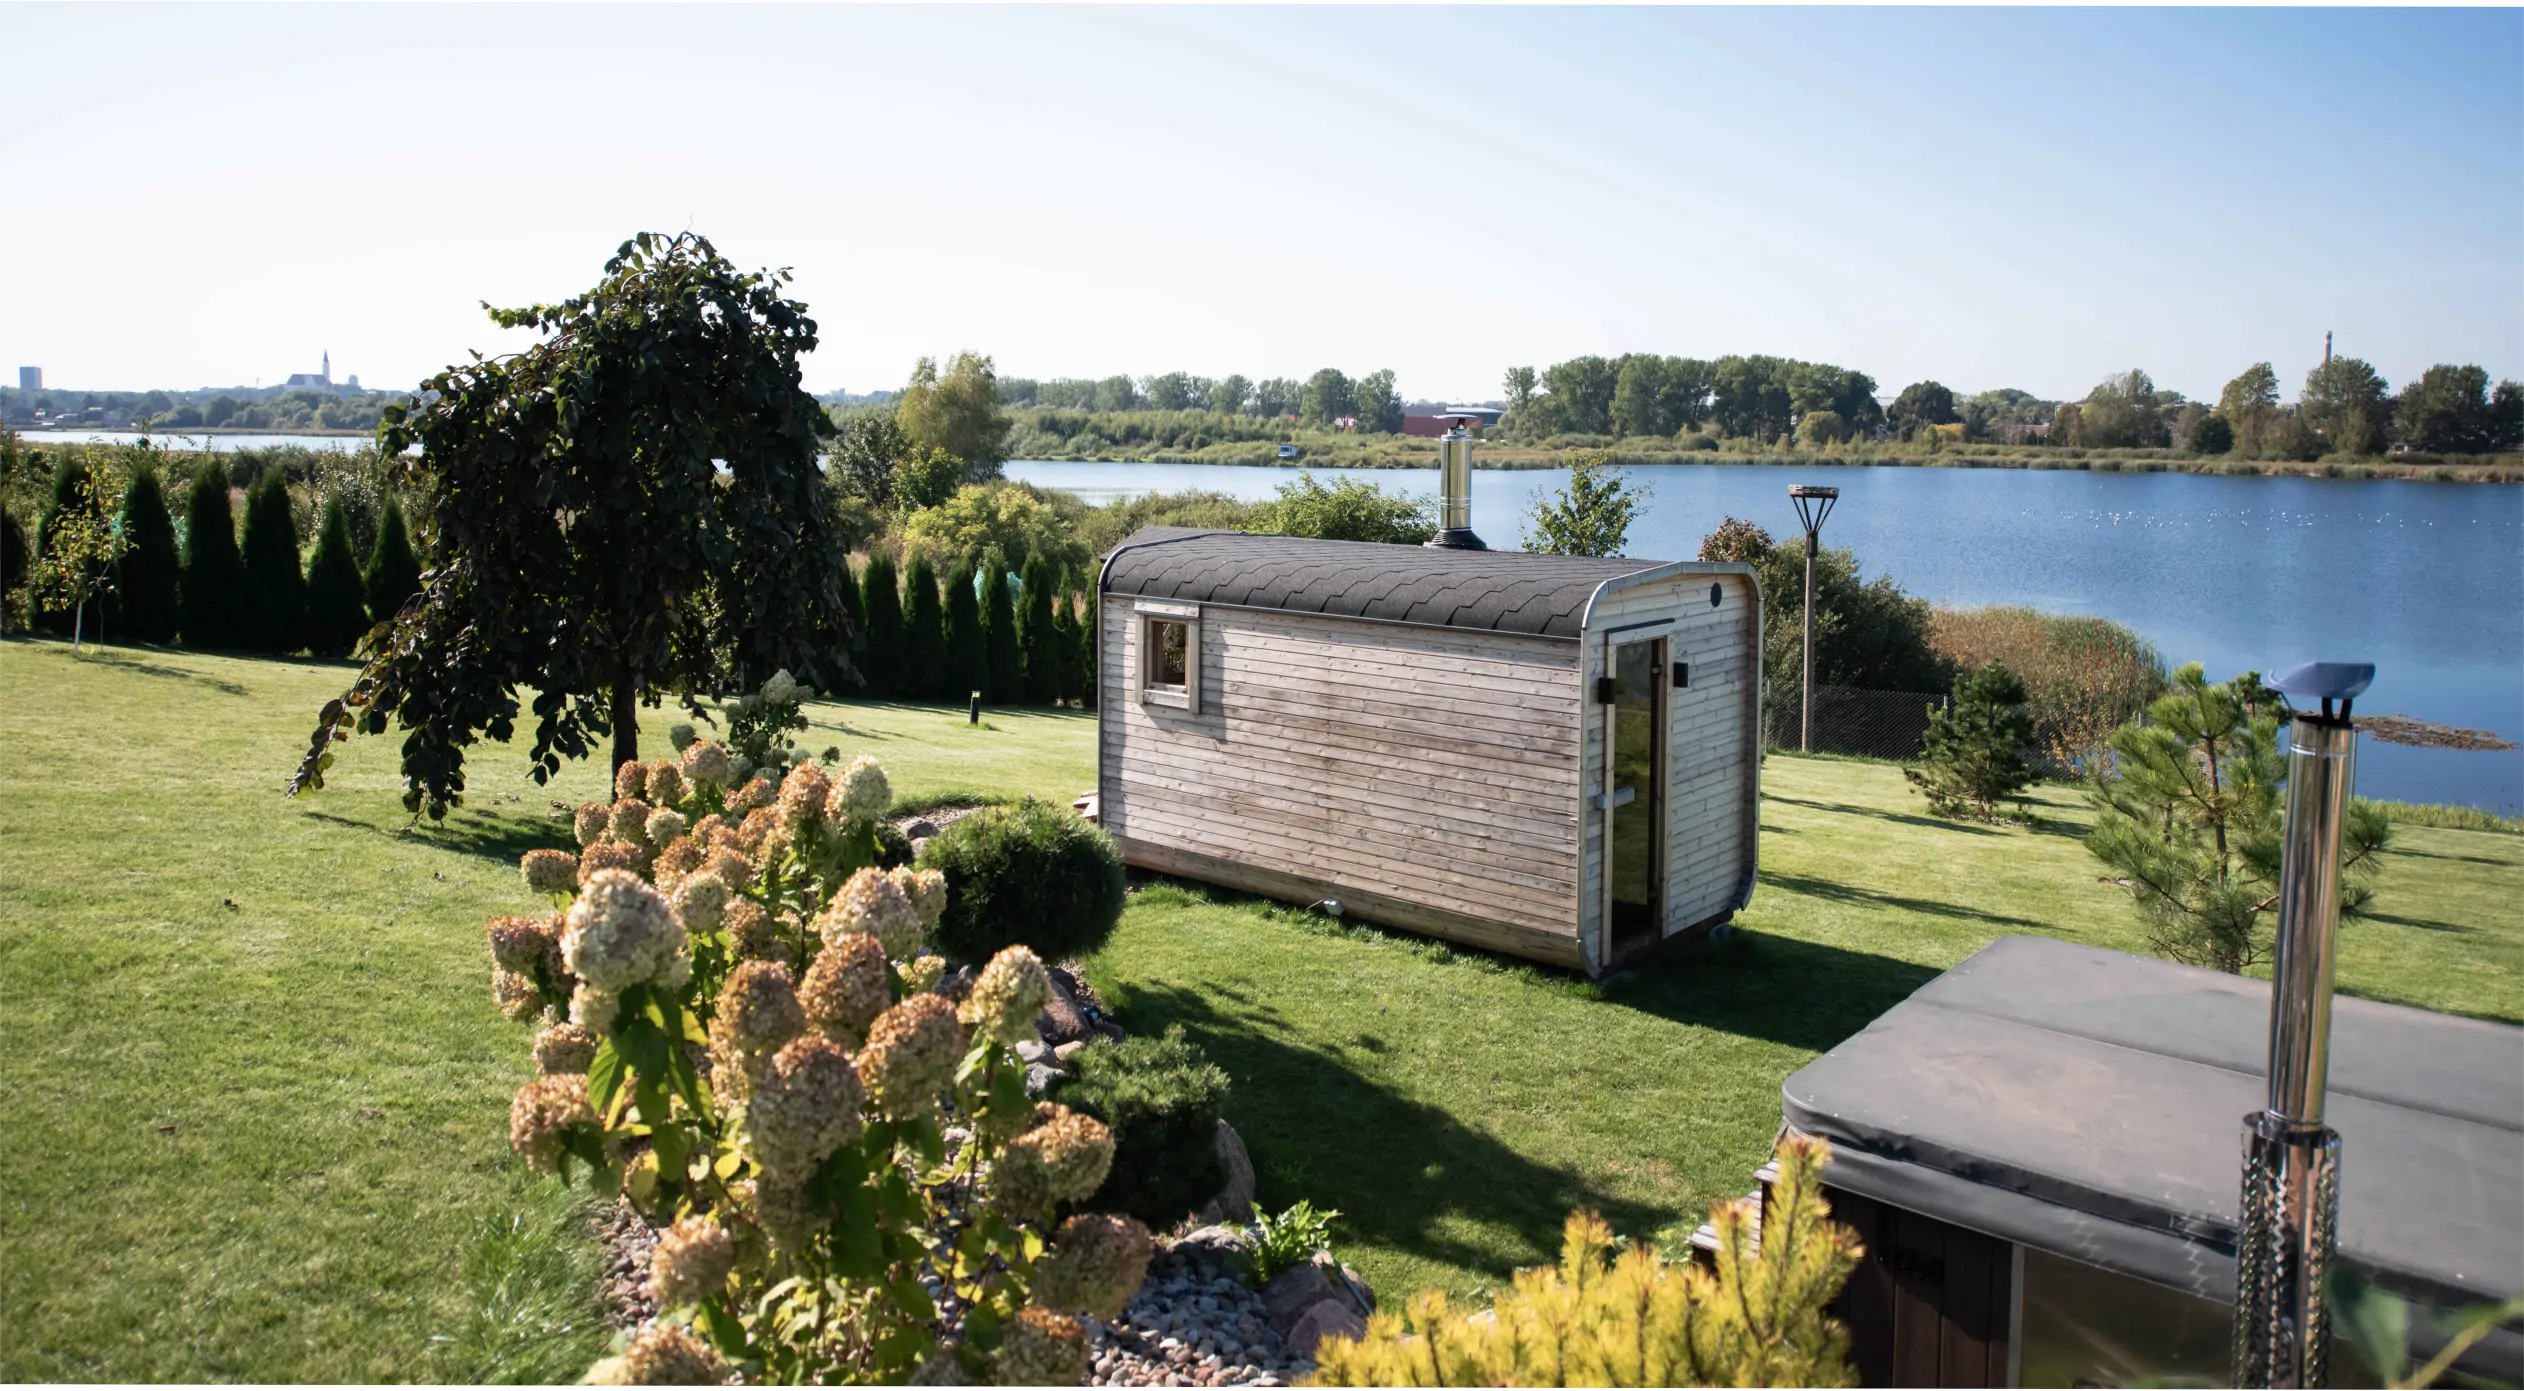
At ground level, check that the foundation remains stable and supports the sauna evenly. Maudis advises against placing the sauna directly on grass or soft ground. Keep soil and vegetation clear of the wooden structure, maintain airflow underneath, and ensure that rainwater or melting snow does not collect around the supports.
If the foundation has settled or no longer supports the sauna evenly, contact Maudis for guidance before attempting to re-level or alter the supports.
Doors, windows and panoramic glazing
Doors and opening windows should operate smoothly, with secure fittings and no signs of water ingress around the glazing or frames. During regular inspections, check the glass, hinges, handles and any seals fitted to your model. Look for visible damage to wooden frames, and confirm that doors and opening windows close properly without forcing them.
Glazing and frame construction vary between Maudis models and configurations, including double-glazing options. Follow the care instructions for the components fitted to your sauna.
If a door or window suddenly becomes difficult to close, check for visible alignment changes and whether the sauna remains level on its foundation. Base or structure movement can affect how the frame sits, so sanding, cutting, or adjusting it may not address the cause. If you notice movement or cannot identify the problem, photograph the affected area and contact Maudis before making adjustments.
Checking sauna tension bands
Stainless-steel tension bands are fitted to selected Maudis Barrel and Cube configurations with panoramic Half-Moon, Full Moon or Full Bee Eye windows. If your sauna has these bands, inspect them at least once a year and after significant seasonal changes in temperature and humidity, as the wood responds to changing conditions.
Check whether the bands have loosened, shifted out of position or become deformed, and inspect their fasteners for visible damage. Pay attention to any new or widening gaps between the wooden elements. The aim is to maintain the correct tension for the structure, rather than tighten the bands as much as possible: excessive or uneven tension can affect the wooden structure and the surrounding window area.
If you notice changes or believe adjustment is needed, contact Maudis and follow the instructions for your sauna’s specific configuration.
Sauna heater and sauna stone maintenance
Depending on the model and configuration, Maudis saunas can be equipped with Harvia, HUUM or Stoveman heaters. Regular care covers the heater itself, its accessible components and the condition of the sauna stones. Maintenance procedures and intervals vary, so always follow the instructions for your specific heater.
Electric sauna heater
Before cleaning or inspecting an electric heater, switch off the power as directed in the manufacturer’s instructions and allow the heater and stones to cool completely. Keep airflow openings clear of dust and debris, and avoid getting water into electrical components or any parts not intended to receive it.
Check for visible damage, corrosion or deformation. If the heater operates abnormally or develops an unexplained smell, stop using it and arrange a professional inspection. Electrical connections, controls and repairs should only be handled by a qualified professional.
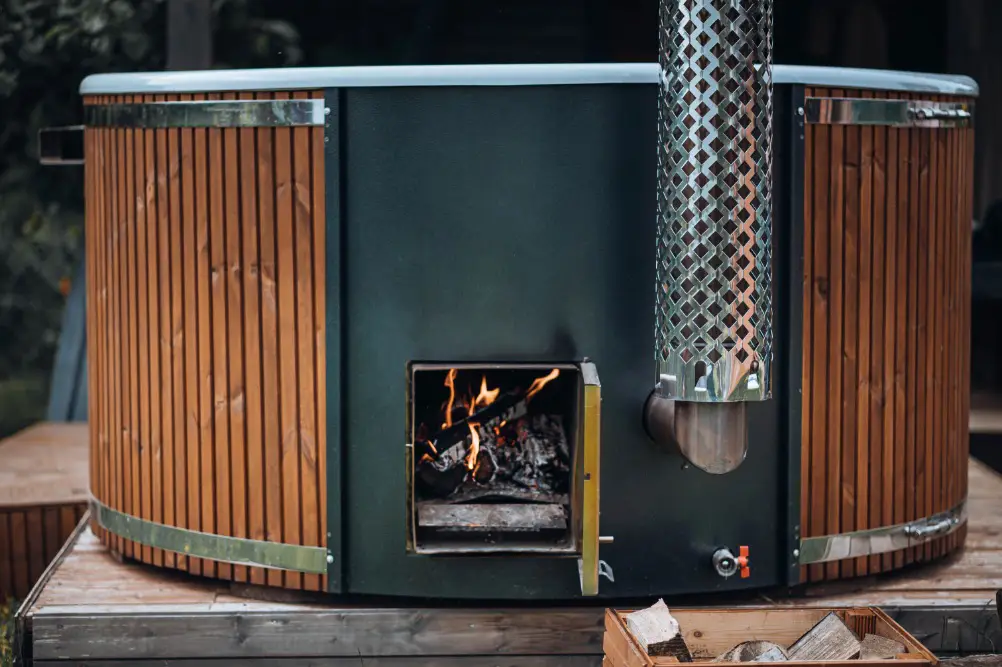
Wood-burning sauna heater
Regularly inspect the firebox, grate, door and visible flue connections for damage, deformation or loose components. Remove ash according to the heater manufacturer’s instructions, and burn only clean, dry firewood. Treated or painted wood, chipboard, plastic, household waste and liquid fuels must not be used.
Wait until both the heater and the ashes are completely cool before removing ash. Place it in a non-combustible container, preferably metal, and keep it away from the sauna, terrace, stored firewood and other combustible materials. Arrange chimney inspection and cleaning by a qualified professional in line with local requirements and how frequently the sauna is used.
Chimney installation videos
For a visual reference, watch the Harvia chimney installation videos: through the roof or through the wall. Always follow the instructions for your heater and chimney system.
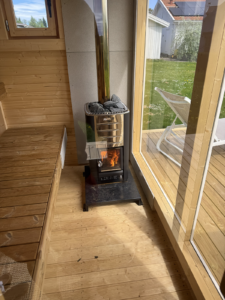
Maintaining a wood-burning heater involves more than removing ash. Once the heater and stones have cooled completely, inspect and restack the stones at least once a year. Replace any cracked or crumbling stones and follow the heater manufacturer’s instructions.
Checking and replacing sauna stones
Sauna stones need periodic inspection because repeated heating and cooling can cause them to crack or crumble. There is no universal replacement interval: follow the heater manufacturer’s guidance, taking operating hours and frequency of use into account.
Maudis recommends inspecting the stones at least once a year, or more often with intensive use. If the heater manufacturer specifies a shorter interval, follow that schedule. Once the heater and stones are completely cool, check for cracked or crumbling stones, remove stone dust and replace damaged stones. Restack them according to the heater’s instructions, leaving the required space for airflow rather than packing them tightly.
Always use stones of the type and size approved for your heater. Replace the full stone set when required by its condition or the manufacturer’s maintenance schedule.
Outdoor sauna maintenance schedule
A practical maintenance routine combines care after each session with periodic inspections and seasonal checks. Adjust the frequency to how often the sauna is used, local weather conditions and the instructions for your sauna and heater.
After every session
Remove excess water, wipe the benches and take wet towels and other textiles out of the sauna. Empty buckets and ladles, then ventilate and dry the interior according to your sauna’s instructions.
Periodically
Clean the interior and check the condition and stability of benches and backrests. Inspect doors, windows and ventilation openings, and check that the foundation remains stable and drainage is clear. Include the heater and sauna stones in this routine, following the equipment manufacturer’s maintenance intervals.
Seasonal checks
Changing weather brings different maintenance priorities. Use the overview below to check how winter conditions, sunlight, vegetation and falling leaves affect your sauna throughout the year.
| Season | What to check |
|---|---|
| Spring | Roof, foundation, drainage, exterior finish and the condition of the interior after winter. |
| Summer | Signs of UV weathering, clear ventilation openings, nearby vegetation and rainwater drainage. |
| Autumn | Fallen leaves and debris, roof joints, exterior finish and chimney maintenance where applicable. |
| Winter | Snow accumulation, safe access, moisture, ice and meltwater drainage around the foundation. |
An outdoor sauna can be used throughout the winter or left unused between sessions. In either case, keep the interior dry, ventilation openings clear and the roof in good condition. Make sure rainwater and melting snow can drain away from the foundation, and continue checking the sauna even during periods when it is not being used.
Before using your sauna after a long break
If your sauna has been unused for several months, check its condition before heating it again. Even when it has been left clean and dry, inspect for changes that may have developed during that time.
Before your first session:
- Check the interior for persistent dampness, mould or signs of pests, and make sure ventilation openings are clear.
- Inspect the exterior and base, including the roof, foundation and protective finish. Check that doors and windows open and close properly.
- Clear the heater area of stored objects, dirt and debris, keeping the required safety clearances unobstructed.
- Inspect the heater and stones, along with visible chimney components and protective guards where fitted, following the equipment manufacturer’s instructions.
- Look for signs of water ingress around electrical equipment. If you suspect that electrical components have become wet or damaged, have them checked by a qualified electrician before switching on the power.
If you find damage to the structure, electrical system, heater or chimney, do not use the sauna until Maudis or an appropriately qualified professional has assessed it and any necessary repairs have been completed.
Private vs commercial outdoor sauna maintenance
Maintenance should reflect how often a sauna is used, how many people use it and whether it has enough time to dry between sessions. A private sauna used once or twice a week will generally need less frequent attention than one operating several times a day at a hotel, glamping site or wellness facility. For frequently used saunas, an annual check alone should not be treated as a complete maintenance plan.
For commercial use, establish a cleaning and inspection schedule and assign responsibility for carrying it out. Keep records of defects, completed maintenance and professional inspections of the heater, electrical installation and chimney, where fitted. This makes it easier to track recurring issues and confirm that necessary work has been completed.
Set maintenance intervals according to actual use and the equipment manufacturers’ instructions. Check the hygiene, fire safety and inspection requirements that apply to your location and type of facility, as these may differ from those for a private sauna.
When does maintenance become a repair?
Routine maintenance keeps the sauna clean, dry and in good working condition. When a problem persists, returns after cleaning or affects the stability or operation of a component, it needs further investigation. The next step is to identify the cause before deciding whether a repair is required.
Contact Maudis or an appropriately qualified professional if you notice:
- Persistent moisture problems: water entering the structure, recurring mould or a damp, musty smell that remains after proper drying and ventilation.
- Movement or instability: a sinking or unstable foundation, widening gaps between structural elements, or doors and windows becoming misaligned.
- Changes in walls or ceilings: new deformation, spreading discolouration accompanied by dampness, or signs that the wood is softening or weakening.
- Electrical damage: damaged components or signs that water has reached electrical equipment.
- Heater or chimney damage: visible deformation, damaged connections or displaced components.
Cleaning, repainting or adding sealant will not resolve a problem caused by ongoing water ingress, poor ventilation or movement of the foundation. Covering the affected area may also make the cause harder to identify.
Photograph the damage and note when it appeared and whether it changes after rain or sauna use. Contact Maudis before drilling, cutting, sealing, tightening or otherwise modifying the affected structure. If the problem involves structural instability, electrical equipment, the heater or chimney, stop using the sauna until it has been assessed and any necessary repairs have been completed.
Five common outdoor sauna maintenance mistakes
Small maintenance tasks are easy to postpone when the sauna still looks and works as expected. These five oversights can allow moisture, wear or structural changes to go unnoticed until more extensive work is needed.
- Overlooking an unstable or uneven foundation
A suitable base needs to remain stable over time. Ignoring settlement or uneven support can allow movement to affect doors, windows and structural connections. - Leaving the sauna damp after use
Standing water, wet textiles and insufficient drying can contribute to persistent odours, mould and deterioration of wooden surfaces. Remove excess moisture and allow the interior to dry thoroughly between sessions. - Waiting too long to maintain the exterior finish
A worn coating provides less protection against weather exposure. Inspect it annually and renew it according to its condition and the coating manufacturer’s instructions. - Neglecting the heater and sauna stones
Crumbling or tightly packed stones can restrict airflow, while neglected ash removal, chimney maintenance or equipment defects can affect performance and safety. Follow the maintenance schedule for your specific heater. - Using unsuitable products or repairing without identifying the cause
Aggressive cleaners can damage wood, and sanding, sealing or tightening a component may not address the underlying problem. Use suitable care products and seek advice before making structural changes.
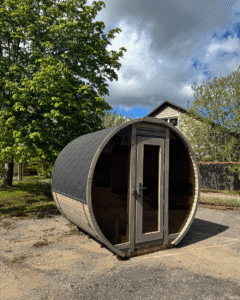
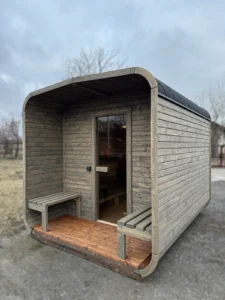
Most saunas, regardless of shape or design, rely on the same core care principles: a properly prepared, level base; safe heater use and
regular maintenance; and good ventilation after each session.
Frequently asked questions
Can I pressure-wash an outdoor sauna?
Maudis does not recommend pressure-washing a wooden outdoor sauna. High-pressure water can damage the wood and protective finish or force moisture into joints. Use a soft brush or cloth and, where rinsing is needed, a garden hose on a gentle setting. Avoid directing water into ventilation openings, joints or seals.
Should I oil the inside of my sauna?
Not automatically. Whether a protective treatment is appropriate depends on the wooden surface and your sauna’s care instructions. If treatment is recommended, use only a product specifically approved for that wood and sauna use. Do not apply ordinary household or exterior oils, paints, varnishes or sealants to interior sauna wood.
Is grey exterior wood damaged?
Not necessarily. Gradual greying is a natural response to sunlight and weather, including on thermowood. Before refinishing, check for persistent dampness, mould, soft or decaying areas and damaged coating. Colour change alone does not establish whether the wood is damaged.
Can an outdoor sauna stay unused during winter?
Yes. Before a longer break, clean and dry the interior, empty buckets and other water containers, and check the roof and exterior. Keep ventilation openings clear and ensure rainwater and melting snow can drain away from the foundation. Continue inspecting the sauna during the unused period.
How often should sauna stones be inspected?
Maudis recommends checking sauna stones at least once a year, or more often with intensive use. Follow your heater manufacturer’s instructions if they specify a shorter interval. Inspect only when the heater and stones are completely cool, and replace cracked or crumbling stones with the approved type and size.
When should I stop using the sauna?
Stop using the sauna if you notice structural instability, damaged or wet electrical components, or damage to the heater or chimney. Water entering the structure, recurring mould or a persistent musty smell also needs investigation before further use. Contact Maudis or an appropriately qualified professional to assess the cause and arrange any necessary repairs.